

Rebuilding a Victorian Wall – from a state of collapse to complete repair
Graham Marchbank, a member of the Scottish Executive Committee of the RTPI, offers a great case study of how a community came together to rebuild a Victorian wall.
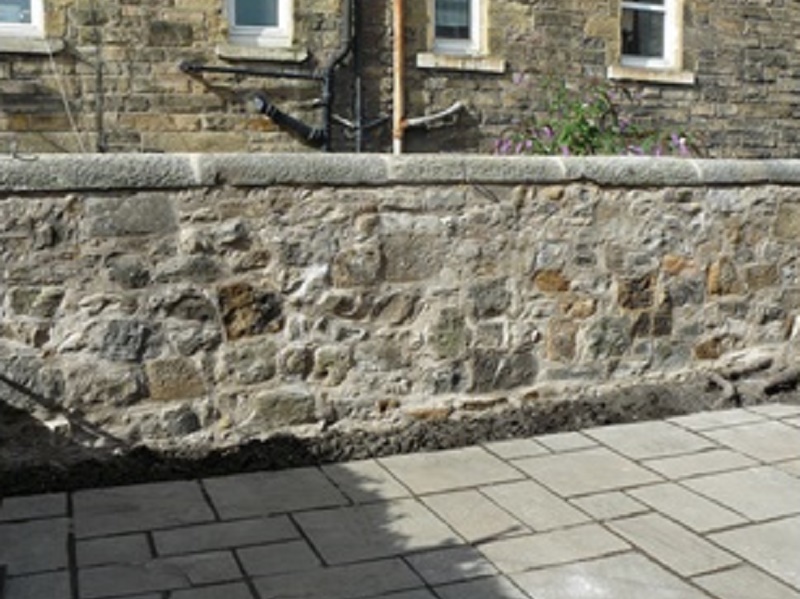
A group of residents in adjacent terraced streets in the Pilrig Conservation Area in Leith are now the satisfied owners of a safe and sound section of Victorian garden party-wall.
The wall was listing badly at about 11 degrees from the vertical and had started to collapse owing in part to structural weaknesses (Fig. 1).
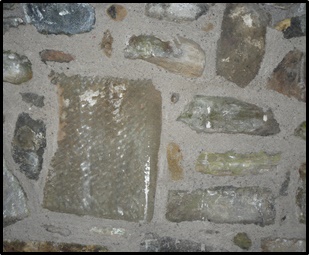
Fig 1. Fig. 2


Research shows that:
Historically, building materials were largely selected based on what was available locally. For centuries prior to the widespread availability of lime, binders such as earth and clay were commonly used in Scotland. The use of these declined as they were superseded by lime, and then cement, in modern construction.
However when the section of this wall was brought down, it was evident that soil had been used as an inferior construction binder (Fig. 2) rather than lime mortar, probably in the 1890s when the houses were built on land assigned from the Balfour Estate. The soil all had to be carted away along with any rotted or degraded sandstone (deeds from the 1890s state that the stone for the houses came from Clunievar Quarry just west of Dunfermline) unsuitable for reuse.
Following demolition by hand, stone by stone, the wall was rebuilt in a traditional style (Fig. 3). The middle of the wall was filled in with smaller stones then a quicklime slurry was poured over them to bind them in (Fig. 4), giving additional strength.
Fig. 3 Fig. 4


Pointing was “knocked back” while still damp to provide a smart finish (Fig. 5). Existing stone was used where possible along with sandstone recovered from another job at one of the properties.
Fig. 5 Fig. 6

Finally the wall was topped out with the original coping stones (Fig. 6), kept damp under sackcloth to set for a couple of days, and the job was done.
Contractor:
Muir Stone Repair, summer 2016.
BACK